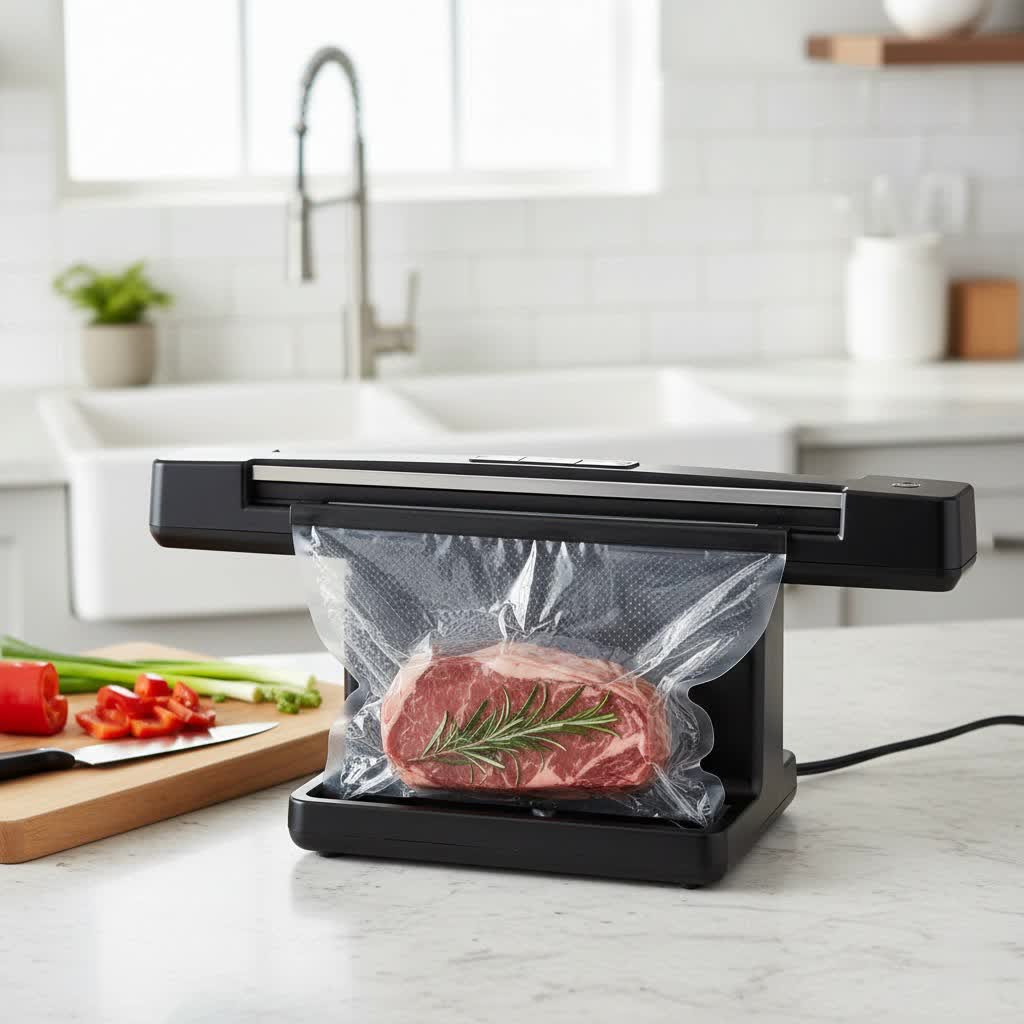
Are you tired of wrestling with pre-sized vacuum sealer bags that are either too large, leading to wasted material, or too small for your bulk purchases and unique items? The secret to efficient food preservation and smart storage often lies in customization. Learning how to create custom-sized bags with your vacuum sealer is a game-changer, offering unparalleled flexibility, reducing waste, and ensuring a perfect fit for everything from a single serving of marinated chicken to an entire prime rib. This guide will walk you through the simple yet effective process, helping you master your vacuum sealer to maximize freshness and optimize your storage space.
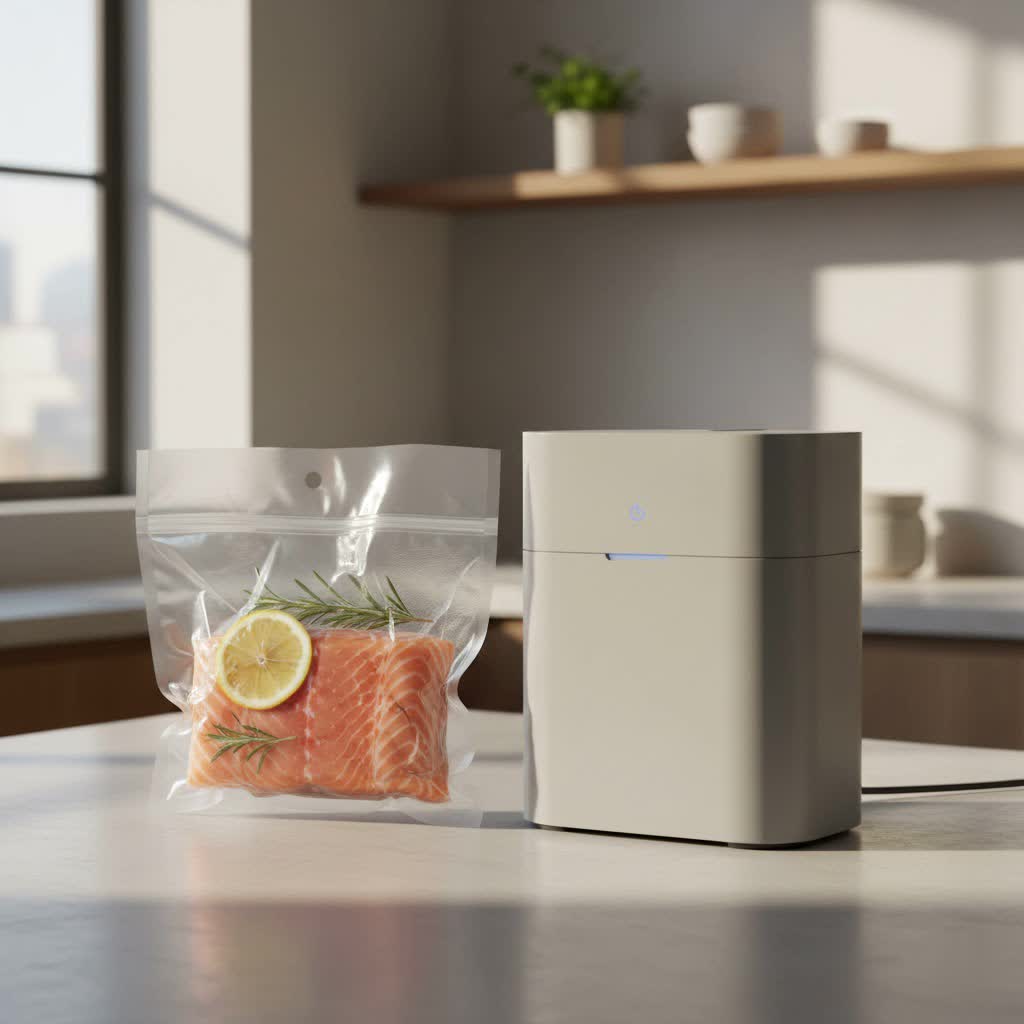
What is a Vacuum Sealer and Why Use Rolls?
A vacuum sealer is an indispensable kitchen appliance designed to remove air from a bag or container, creating an airtight seal. This process significantly extends the shelf life of food by inhibiting the growth of mold, yeast, and bacteria, which thrive in oxygen-rich environments. While many vacuum sealers come with pre-made bags, the true power of customization comes from using vacuum sealer rolls. These rolls are essentially a continuous tube of multi-ply plastic material, open at both ends, allowing you to cut and seal them to any desired length. This flexibility means you’re no longer restricted by standard bag sizes, making it ideal for unique food items, bulk storage, or non-food applications.
The Benefits of Custom-Sized Vacuum Seal Bags
The ability to tailor your storage solutions brings a host of advantages that go beyond simple food preservation.
Optimal Space Utilization
|
Our Picks for the Best Vacuum sealer in 2026
As an Amazon Associate I earn from qualifying purchases.
|
||
| Num | Product | Action |
|---|---|---|
| 1 | MegaWise Vacuum Sealer Machine | 80kPa Suction Power| Bags and Cutter Included | Compact One-Touch Automatic Food Sealer with External Vacuum System | Dry Moist Fresh Modes for All Saving needs |

|
| 2 | Bonsenkitchen Vacuum Sealer Machine | Compact Food Sealer for Kitchen Storage & Meal Prep | Multiple Modes | External Vacuum System | 5 Bags, Silver |
|
| 3 | Food Vacuum Sealer Machine, 95KPa Powerful Food Saver with Dry/Moist/External Vacuum Modes, Built-in Cutter & Bag Storage, Single/Double Sealing, 1 Bag & 15 Pre-cut Bags |
|
| 4 | Potane Precision Vacuum Machine,Pro Food Sealer with Built-in Cutter and Bag Storage(Up to 20 Feet Length), Both Auto&Manual Options,2 Modes,Includes 2 Bag Rolls 11”x16’ and 8”x16’,Compact Design |
|
| 5 | Gasbye 95kPa Precision Vacuum Sealer Machine, Double Heat Seal for Dry/Moist Food, Easy-Lock Handle, Built-in Bag Storage & Cutter, Progress Display, Pulse Mode, Removable Drip Tray, Silver |
|
| 6 | Bonsenkitchen Vacuum Sealer Machine, Globefish Technology for Perfect Vacuum Sealing, Powerful Low-Noise Food Vacuum Sealer with Easy Handle Design, Built-in Cutter & Bag Storage, 1 Bag Roll & 10 Bags |
|
| 7 | 95Kpa Precision Pro Vacuum Sealer, with Double Heat Seal & Dual-Pump for Dry/Moist Food, 2X Strength, Food Vacuum Sealer Machine with Easy-Lock Handle, Built-in Cutter & Bag Storage, Stainless Steel |
|
| 8 | Vacuum Sealer Machine 95KPA Powerful Suction, 10s Fast Seal, Dry & Moist Modes, Compact Food Vacuum Sealer with 30 Bags Included, Automatic Food Saver for Meal Prep, Sous Vide & Kitchen Storage |
|
| 9 | Vacuum Sealer Machine 75KPa Food with 6-in-1 Dry/Moist Modes & Digital Timer, Compact Lightweight Design, Built-in Cutter + 10 Bags (Black Silver) |
|
| 10 | Vacuum Sealer for Food, 95kPa Food Saver Vacuum Sealer Machine, 135W Fast-Sealing with Easy Tear Cutter, Built-in Bag Storage, 9-in-1 Compact Food Vacuum Sealer Machine with 10 ft Bag Roll |
|
Custom bags allow you to package items precisely, eliminating excess air and material. This results in more compact storage, whether in your freezer, pantry, or even for non-food items in a closet, maximizing every inch of available space.
Reduced Waste and Cost Savings
When pre-made bags are too large, you inevitably cut off and discard unused portions. With rolls, you use only the material necessary for each item, drastically cutting down on plastic waste and saving money over time, as rolls are generally more cost-effective than buying a variety of pre-cut bags.
Perfect Fit for Diverse Items
From irregularly shaped cuts of meat and delicate herbs to large quantities of vegetables or even non-food items like camping gear, custom bags ensure a snug fit. This precise fit is crucial for effective vacuum sealing, preventing air pockets and maximizing preservation.
Enhanced Food Preservation
A perfectly sized bag means minimal excess air, leading to a stronger vacuum and a more effective barrier against freezer burn and spoilage. This keeps your food fresher, tastier, and more nutritious for longer, preserving its quality up to five times longer than traditional methods.
Versatility Beyond the Kitchen
The applications for custom vacuum bags extend far beyond food. They are excellent for protecting important documents, preserving silver from tarnishing, organizing craft supplies, or compacting clothing and bedding for travel or long-term storage.
Essential Tools for Crafting Your Custom Bags
To embark on your custom bag creation journey, you’ll need a few key tools:
- Vacuum Sealer: Most modern vacuum sealers are designed to work with rolls and have a sealing-only function. Many even feature a built-in cutter and roll storage compartment for added convenience.
- Vacuum Sealer Rolls: These are the continuous rolls of bag material. They come in various widths (e.g., 8-inch, 11-inch) but allow for infinite length customization.
- Scissors or Integrated Cutter: While many sealers include a built-in slide cutter, a good pair of kitchen scissors will also do the job for cutting the roll to your desired length.
- Measuring Tool (Ruler or Tape Measure): Essential for accurately determining the length of bag material needed.
Step-by-Step Guide: How to Create Custom Vacuum Bags
Creating your own custom-sized vacuum sealer bags is a straightforward process once you understand the basic steps.
Prepare Your Workspace and Materials
Before you begin, ensure your vacuum sealer is plugged in and ready. Have your vacuum sealer roll, a measuring tool, and scissors (if your sealer doesn’t have a built-in cutter) close at hand.
Measure and Cut Your Bag Material
The most critical step in custom bag creation is accurate measurement. Pull out enough bag material from the roll to comfortably hold the item you wish to seal. Then, add an additional 3-4 inches of length for the first seal, and another 3-4 inches for the final seal after the item is placed inside. This extra length is vital for the sealer to create a strong, complete seal and for the vacuum channel to effectively remove air. Ensure your cut is straight to facilitate a better seal.
Create the First Seal
With your cut piece of bag material, you now have a single, long open-ended tube. Place one end of this tube onto the sealing strip of your vacuum sealer. Make sure the bag lies flat and is free of wrinkles. Close the lid of your vacuum sealer, securing it according to your model’s instructions (you might hear “click” sounds). Press the “SEAL” button. The sealer will heat the strip and create a durable, airtight seam, transforming your tube into a bag with one open end. Allow the sealer to cool for a few seconds if making multiple bags.
Fill Your Custom Bag
Once the first seal is complete and the bag has cooled slightly, open the sealer and remove your newly formed custom bag. Now, carefully place the food item or other contents into the bag. Be mindful not to overfill, leaving adequate space at the open end for the vacuuming and final sealing process. For most items, aim to leave at least 2-3 inches of space between the food and the top edge.
Vacuum and Seal the Second End
With your item securely inside, place the open end of the bag into the vacuum sealer’s drip tray and across the sealing strip, ensuring it’s smooth and flat. Close the lid. For most vacuum sealers, pressing the “VAC/SEAL” button will automatically remove the air and then create the final seal. The indicator light will usually turn off when the process is complete. Open the lid and inspect your perfectly sealed, custom-sized bag.
Tips for Achieving a Perfect Seal Every Time
Mastering your vacuum sealer involves a few best practices:
- Straight Cuts Are Key: A crooked cut can lead to uneven pressure on the seal bar, potentially compromising the airtight seal. Use your sealer’s built-in cutter or a ruler with scissors for precision.
- Keep the Sealing Area Clean: Food particles, moisture, or grease on the inside of the bag near the sealing area can prevent a proper seal. Wipe the area clean if necessary.
- Proper Bag Placement: Always ensure the bag lies flat on the sealing strip without wrinkles or folds. The open end should extend slightly beyond the sealing bar into the vacuum chamber.
- Allow Cooling Time: After each seal, especially if you’re making several bags, give your vacuum sealer a brief moment (around 20 seconds) to cool down. This prevents overheating and ensures consistent, strong seals.
- Avoid Overfilling: Leaving enough head space (at least 2-3 inches) is crucial for the vacuum process and a reliable seal.
- Manage Moisture: For moist foods, pre-freeze them briefly or place a paper towel at the top of the bag, below the seal line, to absorb excess liquid that could interfere with the seal.
- Use the ‘Moist’ Setting: If your sealer has a “moist” or “liquid” setting, use it for foods with higher water content.
Troubleshooting Common Issues
Even with the best techniques, you might encounter occasional issues.
- Incomplete or Weak Seal:
- Check for debris: Ensure the sealing strip and inside of the bag are clean and dry.
- Inspect the seal bar: Look for wear or damage to the sealing element or gasket.
- Allow cooling: The machine might be too hot from continuous use.
- Reposition: Try sealing again, ensuring the bag is perfectly flat and positioned correctly.
- Vacuum Failure (Air Not Removing):
- Check lid closure: Ensure the lid is fully latched and sealed.
- Inspect gaskets: Look for cracks or damage in the rubber gaskets that create the vacuum chamber.
- Bag integrity: Check for any tiny holes or tears in the bag material.
- Overfilling: Too much food can block the air extraction path.
- Bag Tearing During Vacuuming:
- Sharp edges: Bone fragments or sharp food items can puncture the bag. Wrap them in a paper towel or a small piece of bag material before sealing.
- Incorrect bag type: Ensure you are using vacuum sealer-specific rolls, not regular plastic bags.
Beyond Food: Creative Uses for Custom Vacuum Bags
The utility of custom vacuum bags extends far beyond the kitchen pantry.
- Camping and Travel Packing: Compress clothing, sleeping bags, and towels to save significant space in your luggage or backpack. It also protects items from moisture and odors.
- Protecting Important Documents and Valuables: Keep passports, birth certificates, photos, or silverware safe from humidity, oxidation, and pests during long-term storage or in emergency kits.
- Organizing Craft Supplies: Store fabrics, yarns, beads, or other craft items to keep them dust-free, organized, and protected from environmental damage.
- Garden Seed Preservation: Vacuum seal seeds to maintain their viability for longer by protecting them from moisture and oxygen.
Conclusion
Creating custom-sized bags with your vacuum sealer is a simple skill that unlocks a world of possibilities for more efficient and effective storage. By using vacuum sealer rolls, you gain the flexibility to precisely package any item, significantly reducing waste, saving money, and extending the freshness of your food. This customization not only optimizes your kitchen workflow but also opens up innovative storage solutions for household items, camping gear, and valuable documents. Embrace this technique to take full control of your preservation needs, ensuring everything from your morning smoothie ingredients to your cherished family photos are protected and organized. Are you ready to transform your approach to storage and preservation?
Frequently Asked Questions
Can I use regular plastic bags with my vacuum sealer?
No, standard plastic bags like zipper bags or sandwich bags are not suitable for vacuum sealing. Vacuum sealers require specialized embossed or textured bags/rolls that allow air to be drawn out through channels in the plastic.
How much extra space should I leave for sealing?
When cutting your custom bag, always leave an additional 3-4 inches on each end where a seal will be made. This ensures ample room for the sealer to create a strong, complete seal and for the vacuum process to effectively remove air.
Can custom-sized vacuum bags be reused?
Yes, if the bag is clean, undamaged, and has enough material remaining, you can wash and reuse it. Simply cut off the old seal and reseal. However, bags used for raw meats or strong-smelling foods should generally be discarded for hygiene reasons.
What kind of vacuum sealer rolls should I buy?
Always purchase rolls specifically designed for vacuum sealers. Look for BPA-free, food-safe, multi-ply, and heavy-duty rolls from reputable brands to ensure durability and effective sealing. They come in various widths, so choose one that suits the typical size of items you seal.